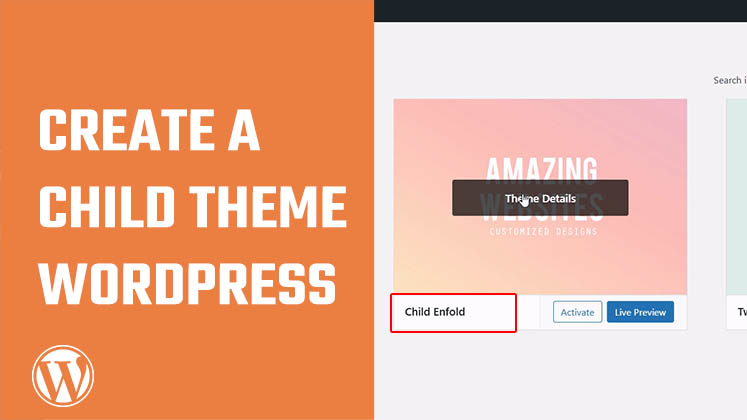
How to Create a Child Theme in WordPress
Here is how you can create a Child theme for your WordPress website. Please note, it is better to create a Child theme when you are in the initial phase of developing the website. But, if you already have a website, you will have to import all custom settings from the parent theme, or else, the design will be messed up.
Anyway, to create a child theme we only need to create three files – style.css, functions.php and screenshot. For screenshot, you can use any image you want but make sure to use the correct name. You can go to Appearance and theme and open the Active theme and save the image as well.
For style.css, go to Appearance and theme file editor and copy all the details from the parent style.css to a Notepad. Make sure to add Child in the Name (like Child Enfold) and add Template: Theme’s folder name. And save as the exact name style.css. And for functions.php, copy the top code (<?php) of functions.php and save as functions.php file. Now put these three files inside a folder and zip it. Then you can upload it to Appearance. Before activating the Child theme, make sure to export all the settings from the parent theme so you can later import to the child theme.
If the Child theme is broken or is not visible on the Appearance and themes, it could be the template name is mistaken. For that, access the root folder—you can use File Manager Plugin or cPanel or FTP. Then go to wp-content > themes > and find the exact folder name of the active theme. Replace the same name on the style.css template and it should work all great.
We hope this video was useful. Thank you very much.


How to Create a Child Theme in WordPress
How to clear Cache from cPanel Hosting | Shared Hosting Server
Creating a Login form using HTML, CSS and JavaScript