Password protect WordPress login page with htaccess
Learn how to add an extra layer of security to your login page by using htaccess password protection. In this tutorial, we will show you how to password-protect your WordPress login page with htaccess.
To get started, you can use either cPanel or FTP to access your website files, or you can use a free plugin like File Manager. The first step is to create an htpasswd file. You can create it in the root directory or anywhere you like. Use strong credentials by using a password generator to encrypt the password. Then create a PHP file in the same folder where you created the htaccess password file and add the provided code. This will give you the exact location of the htaccess password file. Then, create an htaccess file and add it to the folder you want to protect. To protect the wp-admin page, you can add it to the wp-admin folder. Simply copy the code provided below and paste it into the htaccess file. Also, replace the path to your htpasswd file.
By following the steps outlined in this blog, you can add an extra layer of protection to your WordPress site. Do give it a try! Thank you.


How to Create a Child Theme in WordPress
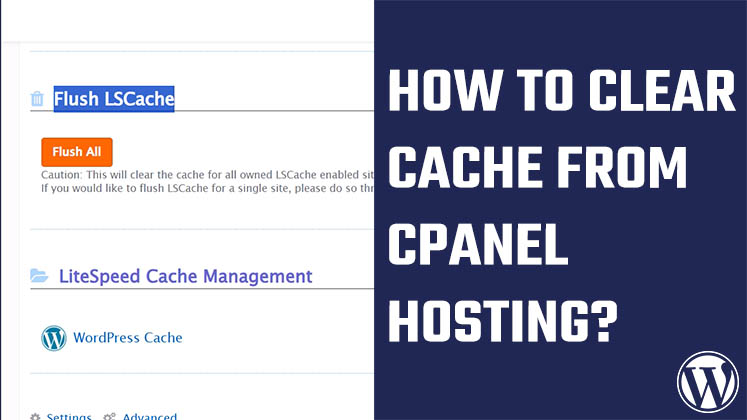
How to clear Cache from cPanel Hosting | Shared Hosting Server
Creating a Login form using HTML, CSS and JavaScript