How to update PHP version in WordPress? cPanel
Looking to update the PHP version of your WordPress website? Here’s a step-by-step guide on how to update your PHP version easily.
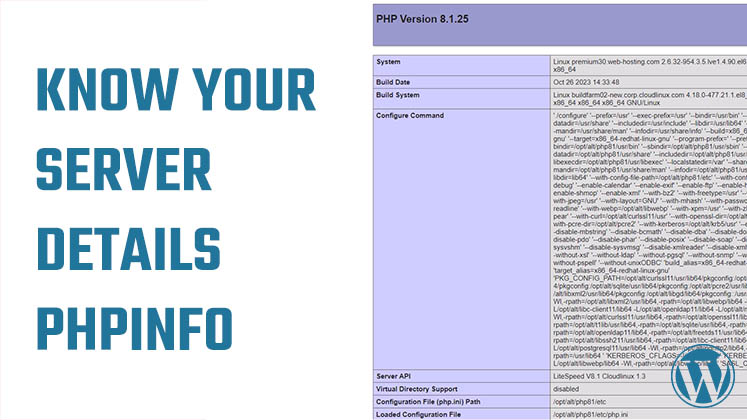
First things first, check the current PHP version of your site. Log in to your WordPress dashboard and go to Tools > Site Health > Info. Click on ‘Server’ to find the current PHP version.
Now, to update the PHP version, you’ll need to access your hosting control panel, commonly known as CPanel. If you’re unsure how to access it, simply go to your domain followed by “/CPanel” and enter your login credentials. If you don’t have CPanel, please ask your hosting provider.
Once you’re in CPanel, locate the ‘Select PHP Version’ option. This might vary depending on your hosting provider. Choose the desired PHP version, and apply the changes. This update will affect all domains hosted on your account.
After applying the changes, the PHP version of your site will have been updated. If you do not see the ‘Select PHP Version’ option, please contact your hosting provider.
Thank you very much.


How to Create a Child Theme in WordPress
How to clear Cache from cPanel Hosting | Shared Hosting Server
Creating a Login form using HTML, CSS and JavaScript